
Google Cloud Platform(GCP)とは
Googleが提供するクラウドコンピューティングサービス
手順
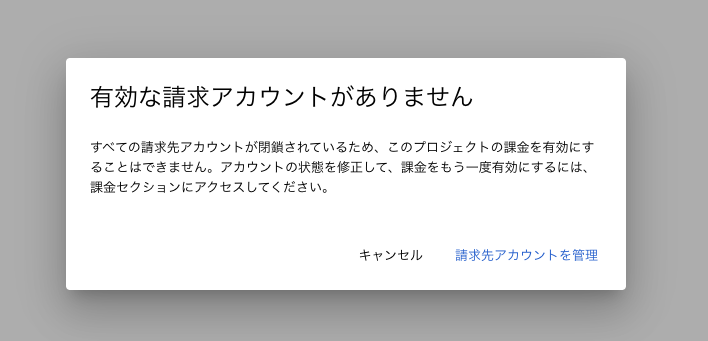
請求先アカウントの登録
課金が有効になっていない場合、以下のようなダイアログが表示されるので、請求先アカウントを管理から登録する
サイドバーのお支払いから
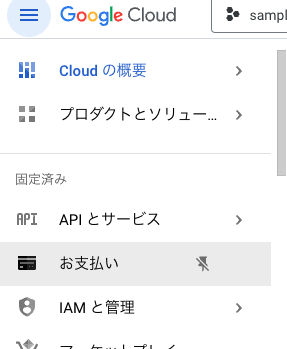
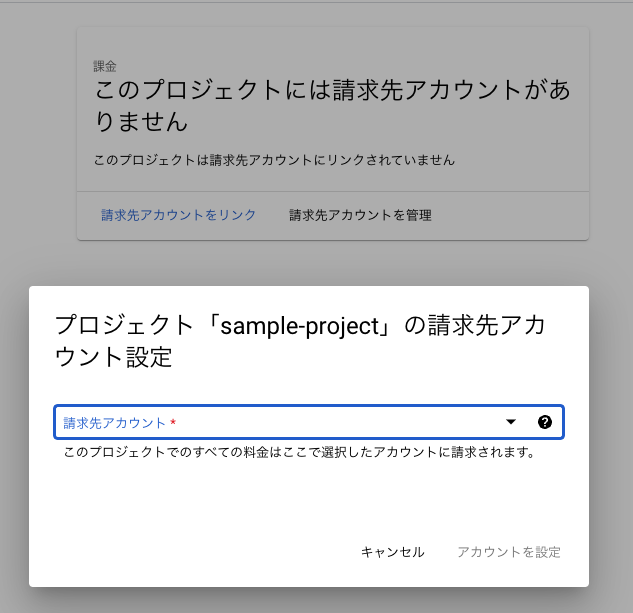
請求先アカウントをリンクをクリックして登録済みのアカウントを紐付ける
Gcloud CLIのインストール
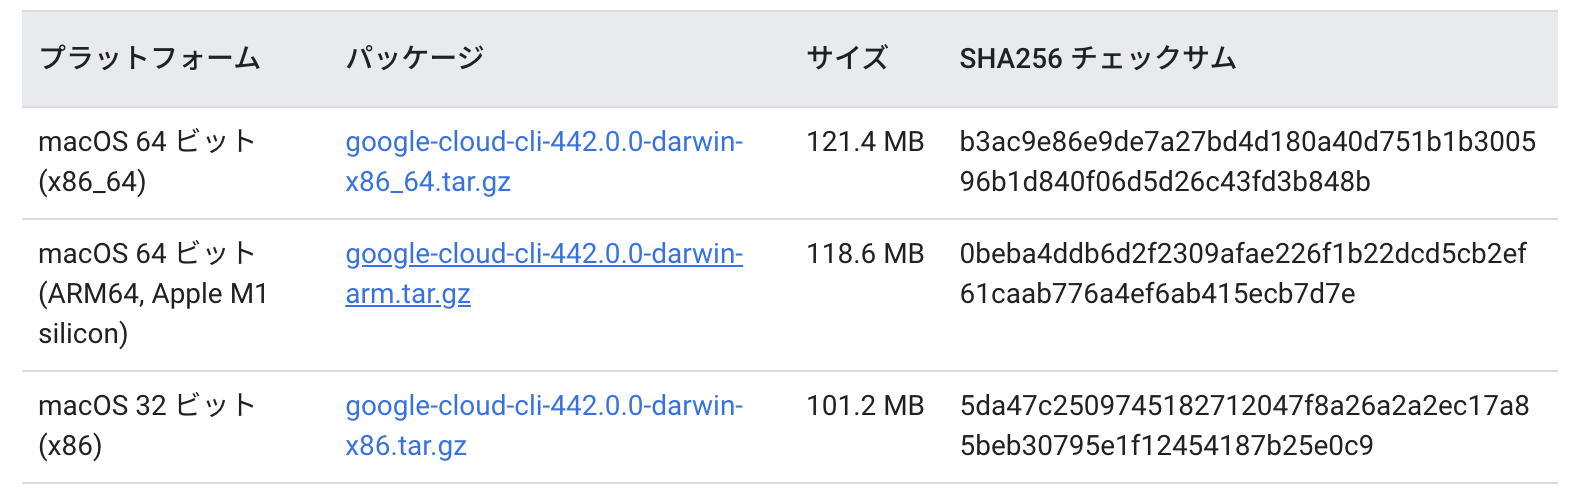
以下に、os毎にインストール方法が記述されている
Python 3(3.5~3.9)がPCにインストールされていることを確認し、インストーラーを選択してダウンロードする
ダウンロードしたファイルをPCのホームディレクトリで展開するため、ホームディレクトリに移動して、install.shを実行する
./google-cloud-sdk/install.sh以下の初期化コマンドを打つと、認証やプロジェクトのセットアップなどが完了する
./google-cloud-sdk/bin/gcloud initプロジェクトの作成
GCPを始めるにはGoogleアカウントが必要になるので事前に作成しておく
GCPアカウント作成
トップページ画面上の「無料で使ってみる」をクリックする
次画面で利用規約の同意やアカウント情報を済ませる。なお、最初は無料トライアルとして$300分のクレジットが利用できる
その後、続いて支払い情報、組織名や住所、支払い方法を入力し、「無料トライアルを開始」を押す
ここまででGCPのアカウント作成が完了。
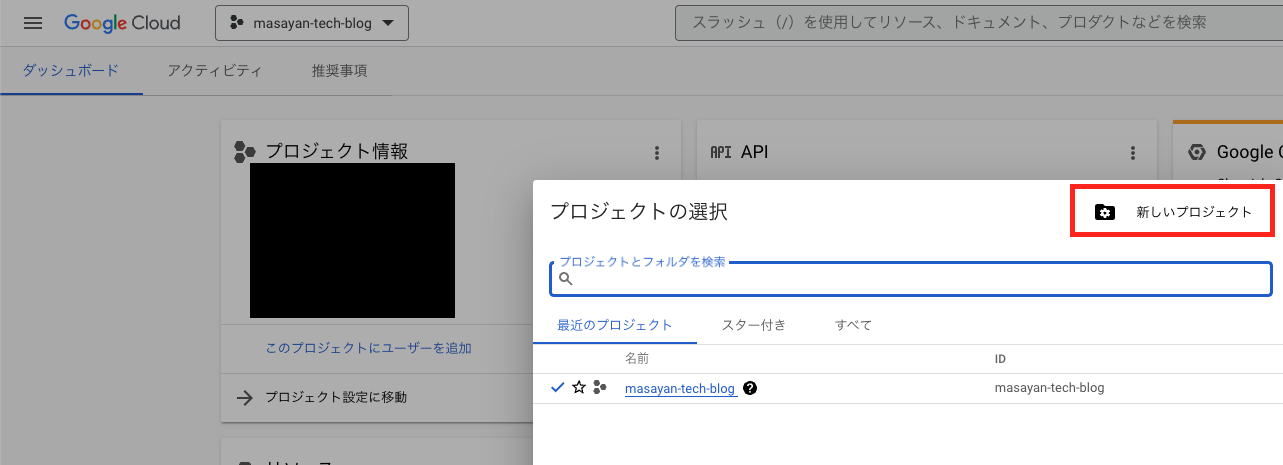
新規プロジェクト作成
プロジェクトにはGCPではGoogle App Engineなどさまざまなサービスを利用できるが、これらサービスを利用するためにはプロジェクトを作成する必要がある。
新しいプロジェクトをクリック
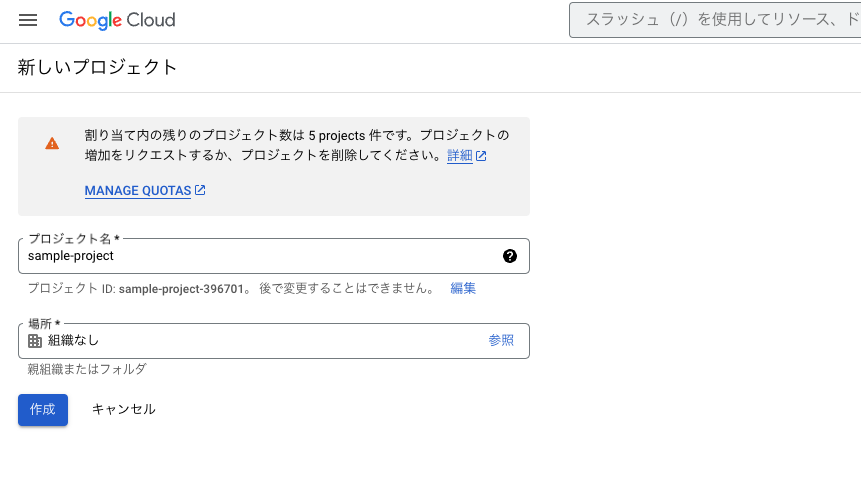
作成するプロジェクト名称を入力し、「作成」を押下すると、プロジェクトが作成される
Cloud build APIの有効化
サイドバーのAPIとサービスから有効なAPIとサービスを選択しCloud build APIを有効化する
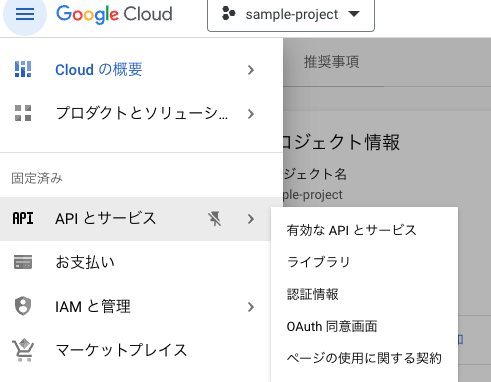
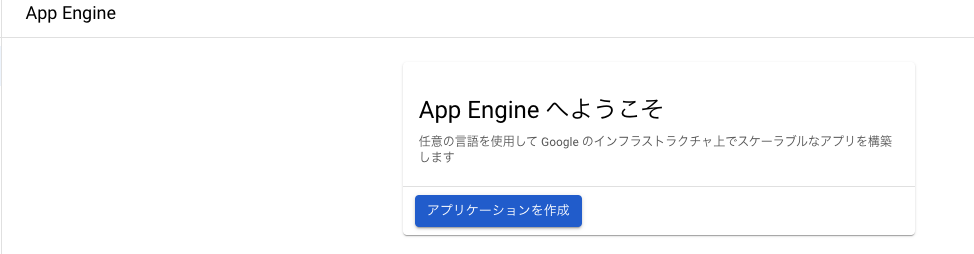
App Engine アプリの初期化
サイドバーのAPIとサービスからApp Engine

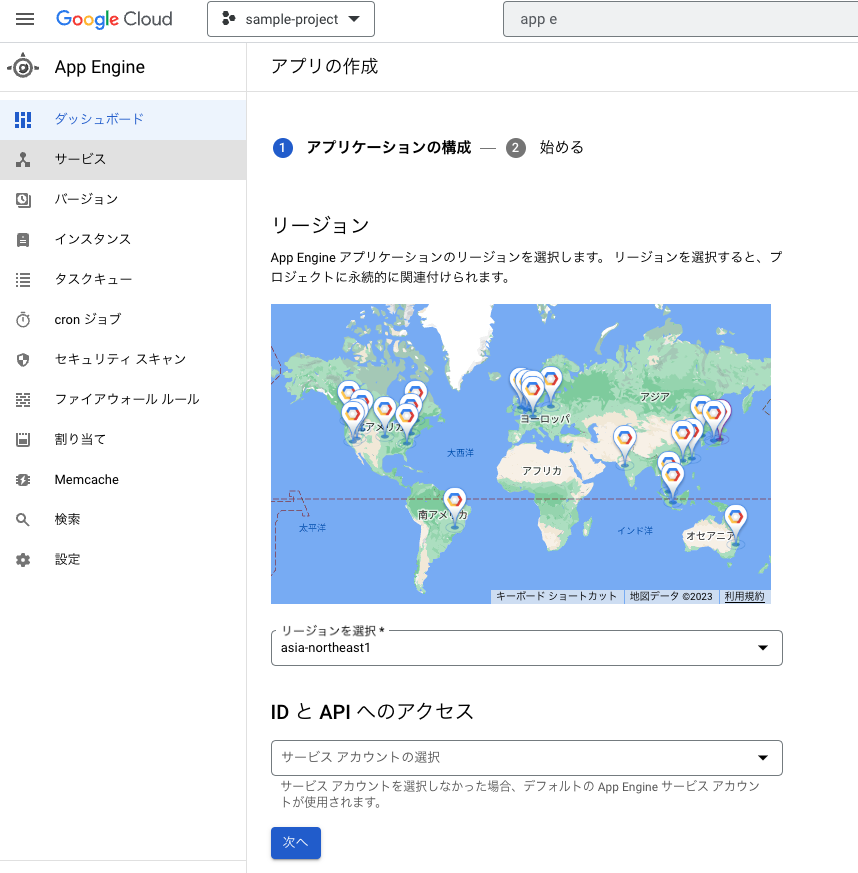
アプリケーションを作成をクリック
リージョン: asia-northeast1を選択し、次へ
gcloud app create --project=[YOUR_PROJECT_ID]次のコマンドを実行して、Python 用の App Engine 拡張機能が含まれている gcloud コンポーネントをインストール。
gcloud components install app-engine-pythonHello World サンプル アプリケーション リポジトリのクローンをローカルマシンに作成
git clone https://github.com/GoogleCloudPlatform/python-docs-samplesサンプルコードが含まれているディレクトリに移動。
cd python-docs-samples/appengine/flexible/hello_worldhello_world ディレクトリで次のコマンドを実行して、Hello World アプリをデプロイ
gcloud app deployデプロイ時に、python-docs-samples/appengine/flexible/hello_world/app.yamlのenvがflexになっているので、フレキシブル環境にデプロイされるようになっている。
# Copyright 2021 Google LLC
#
# Licensed under the Apache License, Version 2.0 (the "License");
# you may not use this file except in compliance with the License.
# You may obtain a copy of the License at
#
# http://www.apache.org/licenses/LICENSE-2.0
#
# Unless required by applicable law or agreed to in writing, software
# distributed under the License is distributed on an "AS IS" BASIS,
# WITHOUT WARRANTIES OR CONDITIONS OF ANY KIND, either express or implied.
# See the License for the specific language governing permissions and
# limitations under the License.
runtime: python
env: flex
entrypoint: gunicorn -b :$PORT main:app
runtime_config:
operating_system: ubuntu22
# This sample incurs costs to run on the App Engine flexible environment.
# The settings below are to reduce costs during testing and are not appropriate
# for production use. For more information, see:
# https://cloud.google.com/appengine/docs/flexible/python/configuring-your-app-with-app-yaml
manual_scaling:
instances: 1
resources:
cpu: 1
memory_gb: 0.5
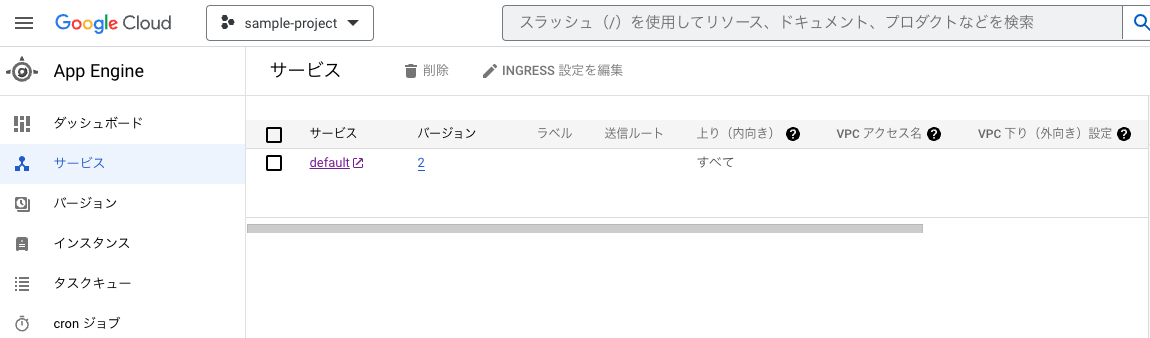
disk_size_gb: 10サービスからApp Engineに作成したプロジェクトが表示されていれば成功です。
まとめ
いかがでしたでしょうか。本記事では、Google App Engineのフレキシブル環境にpythonアプリケーションをデプロイする方法について紹介しました。GAEのフレキシブル環境へのデプロイについての情報がネット上にあまりまだ多くはないので、ぜひ参考にしてみて下さい。


