
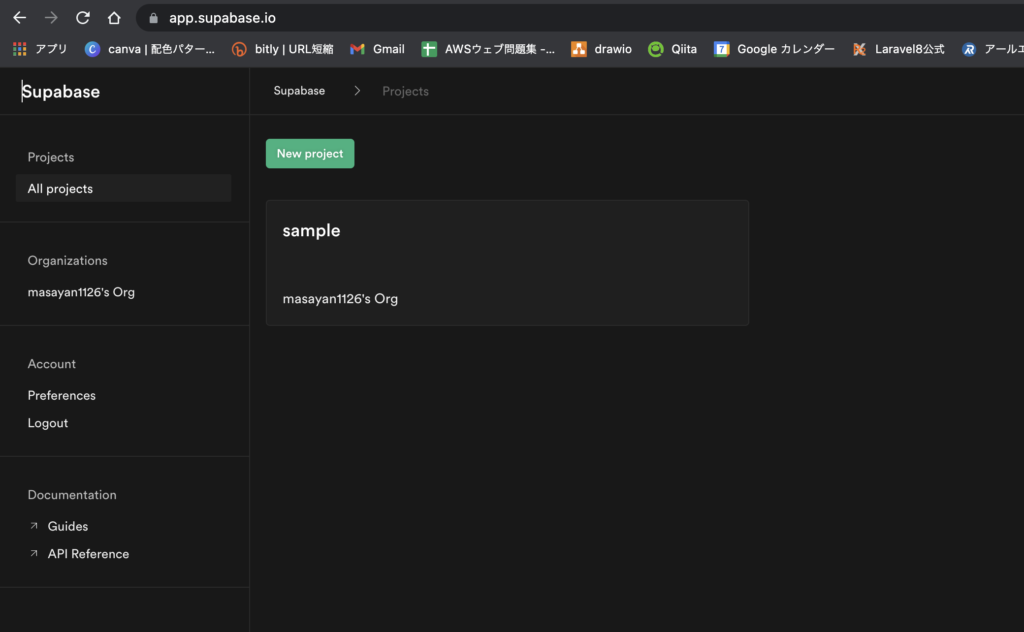
supabaseとは
supabase(スーパベース)はめちゃくちゃざっくりというと、firebaseのRDB版です。
Firebaseはとても魅了的なサービスですが、NoSQLということもあり用途が制限されますが、
supabaseはRDBのPostgreSQLが使えるので、この時点でテンションが上がりますよね。
supabaseの初期設定
アカウント登録
githubアカウントがあれば、すぐに利用開始できます。
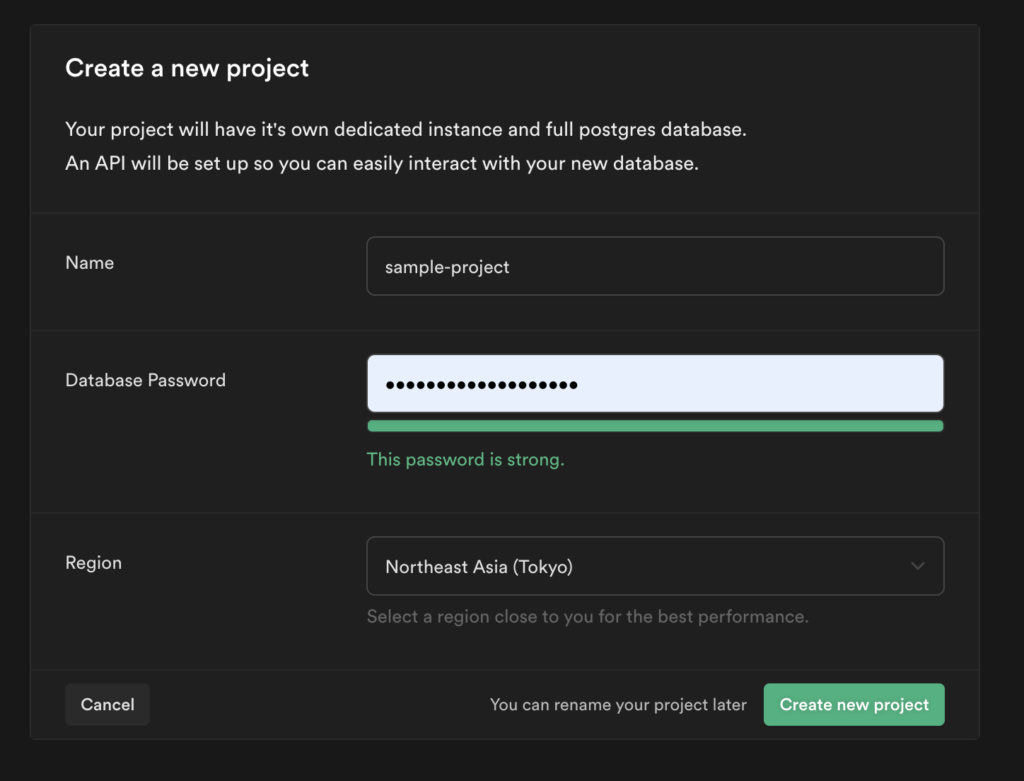
プロジェクトの作成
New projectを押して、新規プロジェクトを作成します。
プロジェクト名、データベースパスワード、リージョンを設定します。
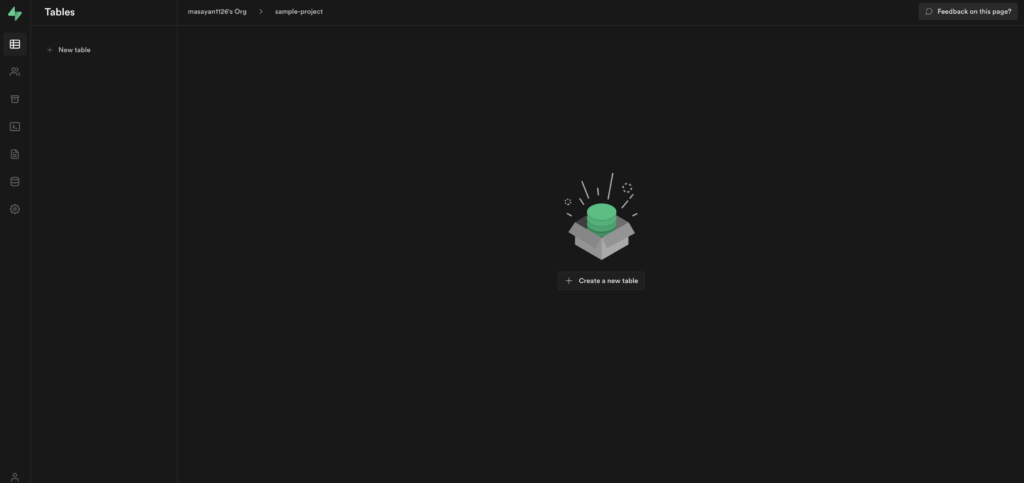
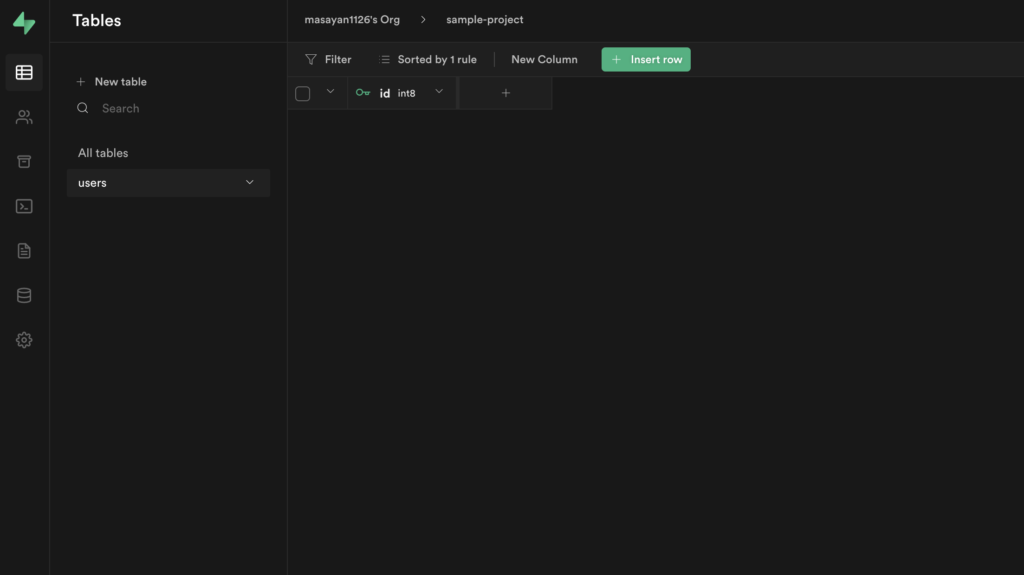
テーブルの作成
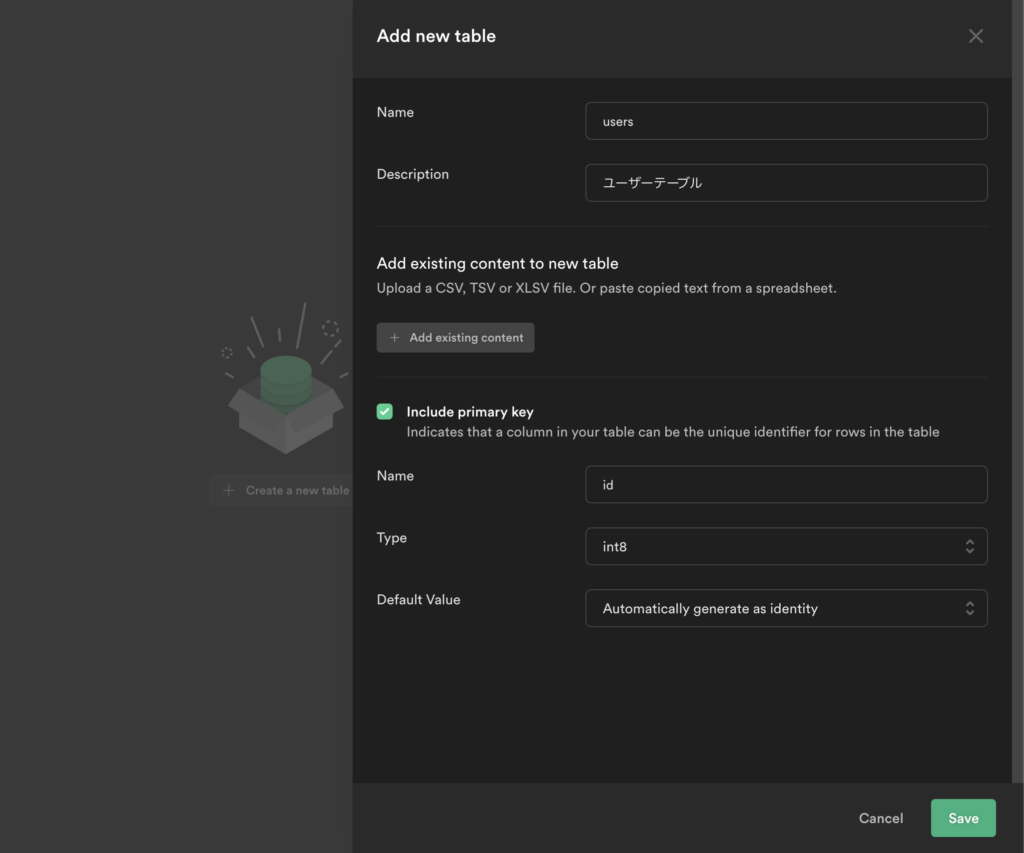
データベースとAPIが作成され、createa new tableからテーブルを作成します。
テーブル名などの情報を登録し、Save
テーブルが作成できました。
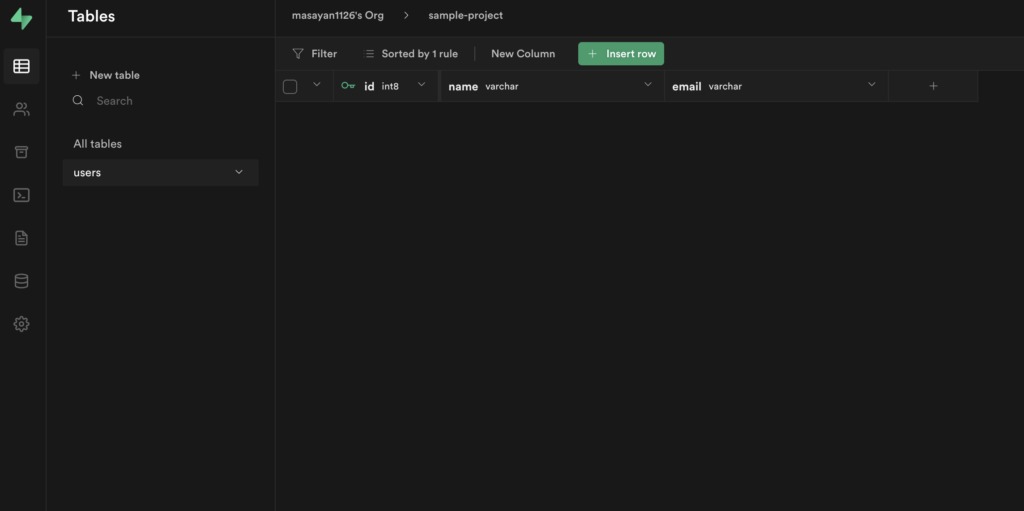
カラムの追加
primary keyしかないので、New columnからカラムを追加します
nameとemailを追加しました。

デモデータを追加する
Insert rowからレコードを追加できます
idはオートインクリメントなので、それ以外を入力します。
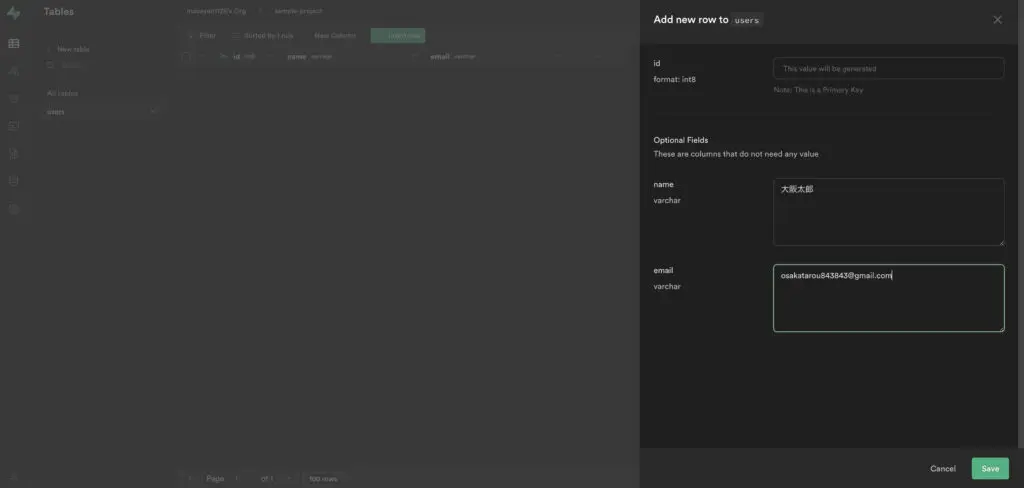
追加できました。(認証は不要なので、パスワードとemailはいらないのですが、適当に作っておきました)

リレーション(foreign keyの設定)
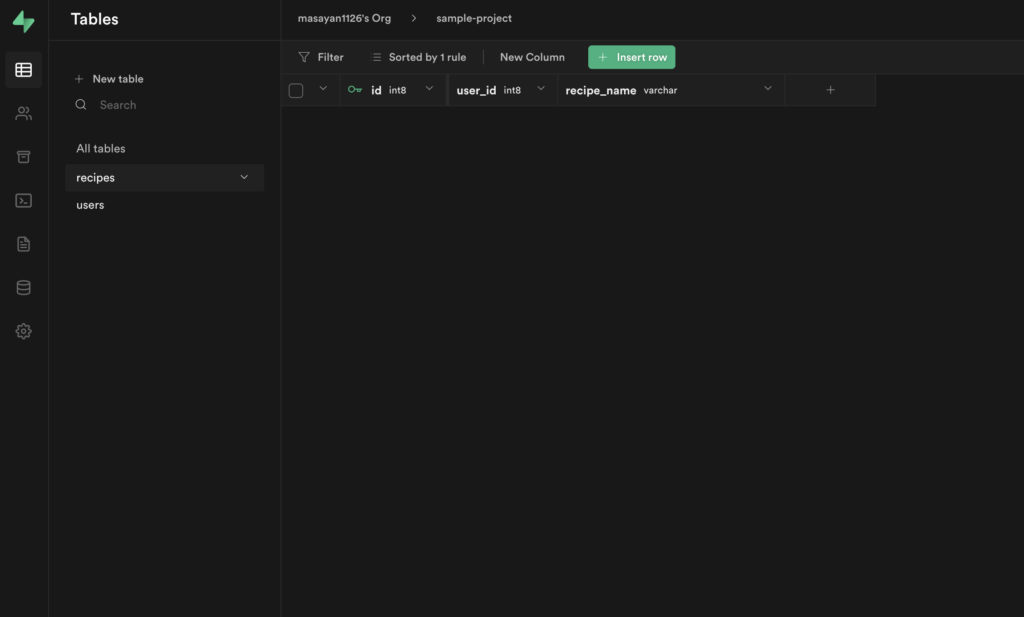
今回はリレーションのやり方も見ておきたいので、もう一つ、recipesテーブルを追加します。
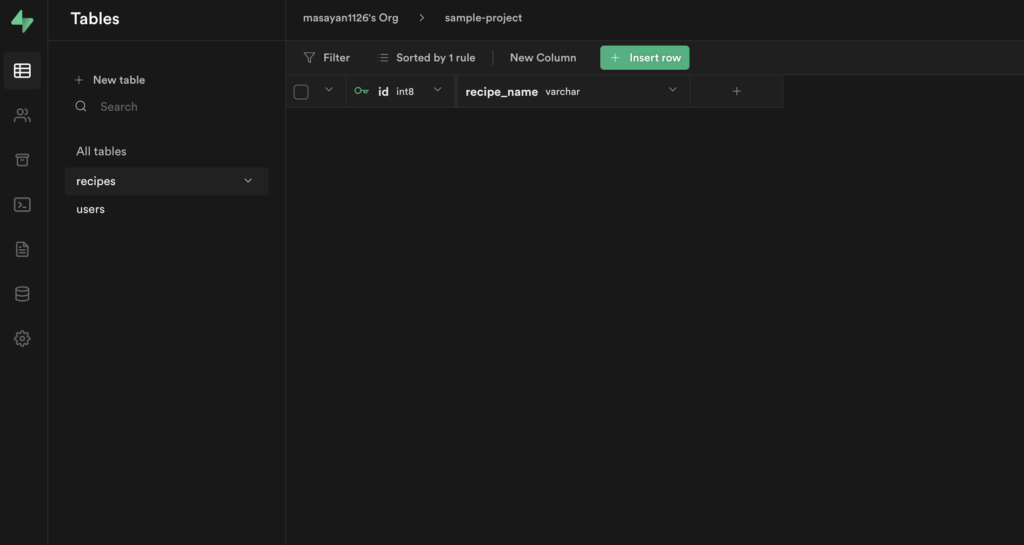
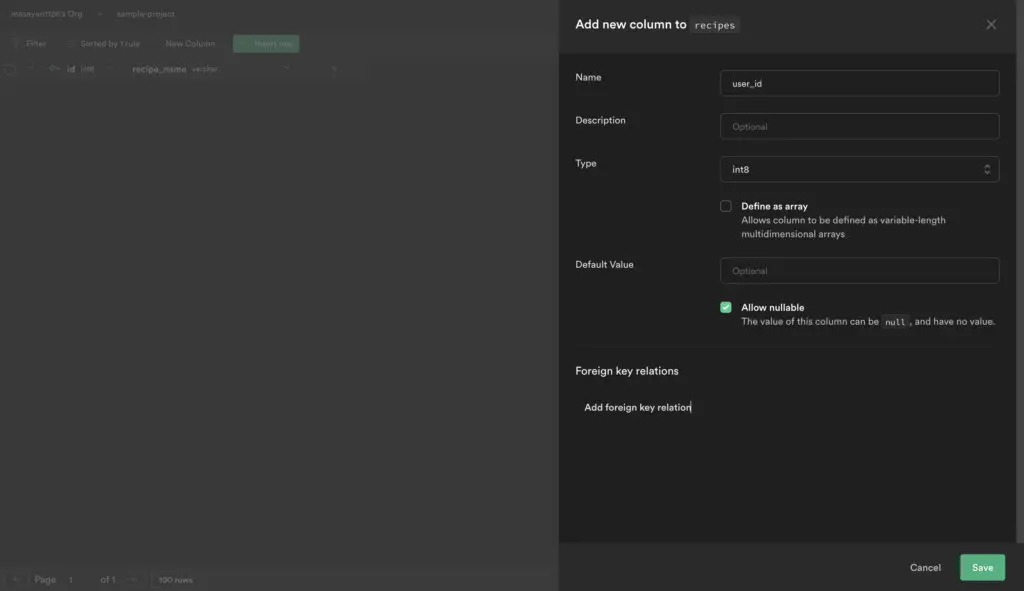
users.idをrecipesテーブルに外部キーとして貼りたいので、New columnを押し、user_idカラムを追加します。
追加する際、Add foreign key relationを押します。
リレーションの対象テーブルとカラムを登録します。
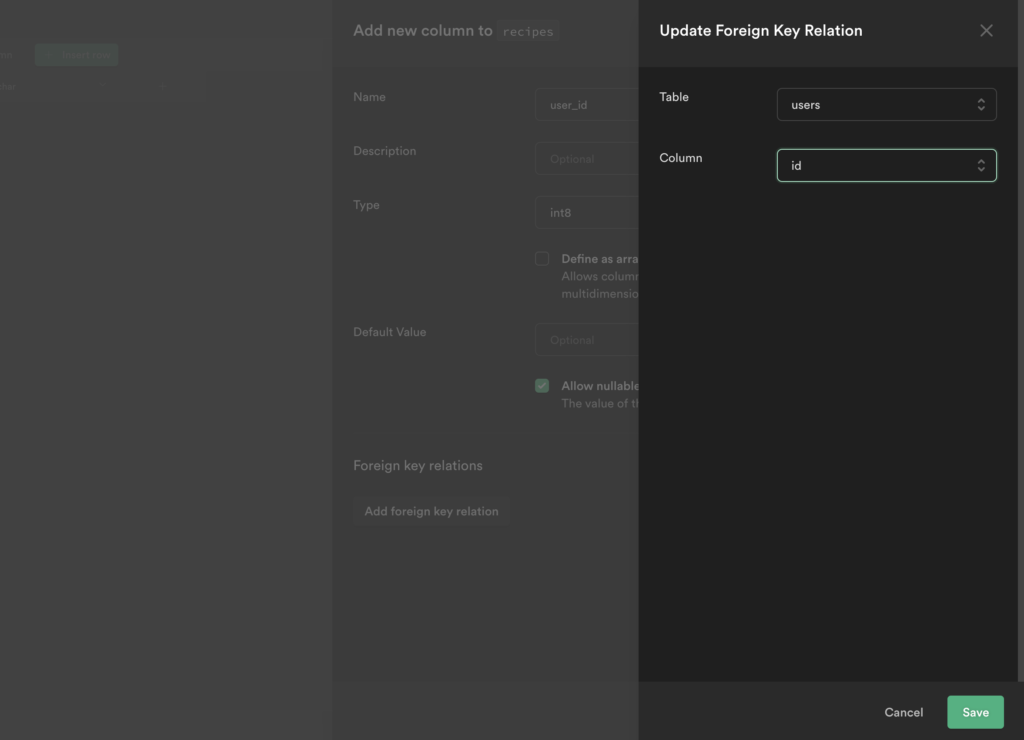
これだけでリレーションの設定ができちゃいました。
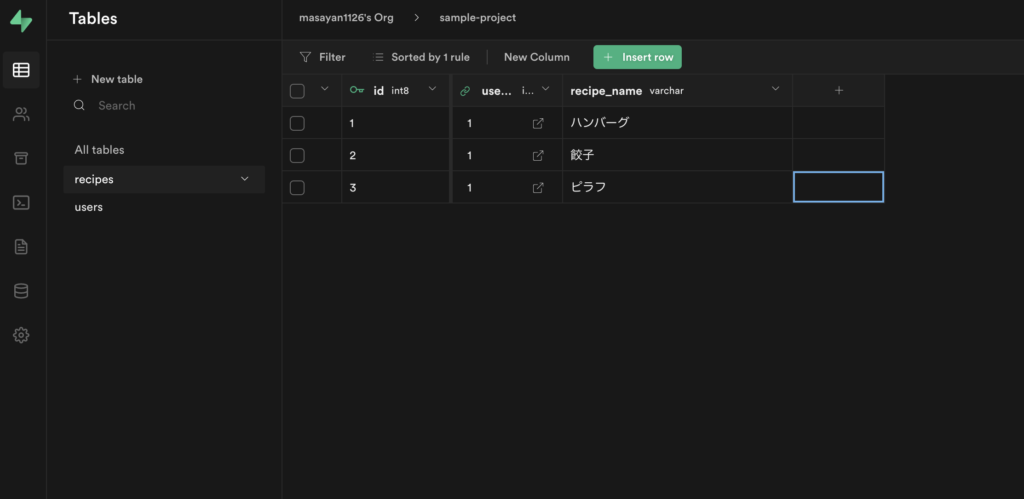
recipesテーブルに3つレコードを追加しました。
Reactアプリから接続する
Reactアプリのセットアップ
create-react-app
create-react-appでreactアプリを作成する。
※create-react-appの詳細は割愛します。
Reactアプリにsupabaseの設定を追加
手順は、API / Introduction に丁寧に書いてくれています。
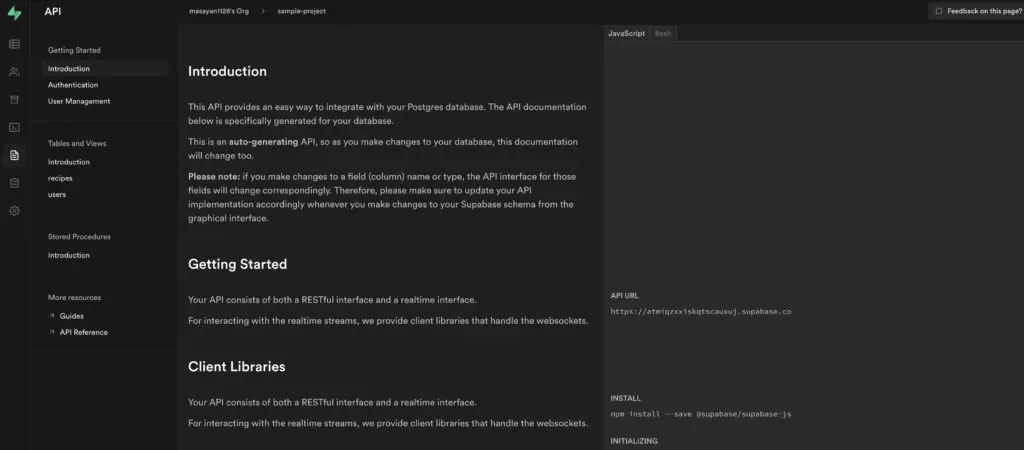
supabaseのインストール
npm install --save @supabase/supabase-jssupabase用設定ファイル
src/config.js
import { createClient } from "@supabase/supabase-js";
const supabaseUrl = "YOUR URL";
const supabaseKey = "YOUR APIKEY"
export const config = {
supabase: createClient(supabaseUrl, supabaseKey),
};URLとsupabasekeyは以下から確認できます。
Setting / API

親コンポーネント(データ取得用)
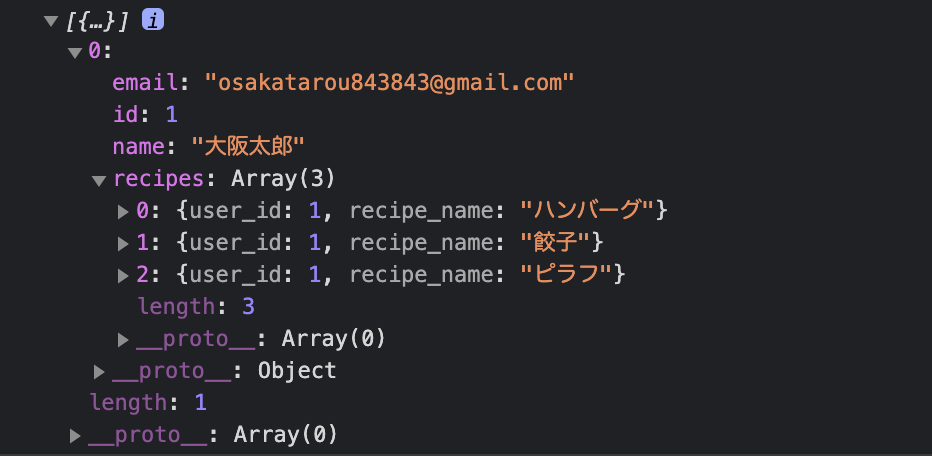
データベースからユーザーIDが1のデータをフェッチして、stateに格納し、子コンポーネントに渡す
src/App.js
import { useEffect, useState } from "react";
import Recipe from "./Recipe";
// supabaseの設定ファイルをインポート
import { config } from "./config";
const App = () => {
const [recipeList, setRecipeList] = useState([]);
const supabase = config.supabase;
// 実際はfirebase authとかバックエンドのapiを叩いてユーザーidを取得
const userId = 1;
const fetchRecipes = async () => {
const reicpes = await supabase
.from("users")
.select(
`
id, name ,email, // usersテーブルで取得したいカラムを指定
// リレーション先のテーブルを指定
recipes(
user_id,recipe_name)
`
)
//
.eq("id", userId); // ユーザーIDを指定
// stateを更新
setRecipeList(reicpes.data);
};
useEffect(() => {
fetchRecipes();
}, []);
return (
{recipeList.length > 0 ? recipeList.map((data) => ( )) : "" );
};
export default App;子コンポーネント(データイテレート用)
propsでデータを受け取ってユーザー名とレシピ一覧を表示
src/Recipe.js
const Recipe = (props) => {
return (
<div className="recipe">
<h4>ユーザー名:{props.username}</h4>
<h4>レシピ一覧</h4>
<ul>
{props.recipeList.map((recipe) => (
<li key={recipe.id}>{recipe.recipe_name}</li>
))}
</ul>
</div>
);
};
export default Recipe;READ
ブラウザで確認
npm start
しっかりデータを取得できています。
CREATE
insertで追加できます
src/App.js
〜割愛〜
const App = () => {
〜割愛〜
const saveRecipe = async () => {
const newRecipe = await supabase.from("users").insert([
{
user_id: userId,
recipe_name: "味噌汁",
},
]);
return newRecipe;
};
return ( <div className="App"> {recipeList.length > 0 ? recipeList.map((data) => ( <Recipe key={data.id} username={data.name} recipeList={data.recipes} /> )) : "" } <button onClick={() => saveRecipe()}>レシピを追加する</button> </div> ); );
};
export default App;まとめ
いかがでしたでしょうか。本記事では、今話題のBaaS「supabase」をReactで使用する手順について説明しています。supabase(スーパベース)はめちゃくちゃざっくりというと、firebaseのRDB版です。Firebaseはとても魅了的なサービスですが、NoSQLということもあり用途が制限されますが、supabaseはRDBのPostgreSQLが使えるので、この時点でテンションが上がりますよね。

