環境
- macOS Monterey 12.0.1
- DockerDesktop 4.9.1
- Laravel 9.x
- PHP 8.x
- node.js 16.15.1
- npm 8.11.0
- Vue 3.2.37
- TypeScript 4.5
- React 17.0.1
- VsCode
手順
- Laravel9の準備
- Vue3の準備
- TailwindCssの準備
- TypeScriptの準備
Laravel9の準備
PHP8以上(とcomposer)が動作するDockerコンテナを用意する
Laravel9の利用にはPHPのバージョンが8.0以上必要です。プロジェクト名の箇所はmy-appとします(docker/nginx/default.confのrootと合わせる必要があります)
git clone https://github.com/masayan1126/docker-laravel.gitディレクトリ移動してエディターで開く
cd docker-laravel/.env.exampleをコピーして.envを作成
※ポートは未使用であれば基本なんでもよいです
WEB=28001
DB=28002
コンテナ起動
docker-compose up -dAppコンテナに入る
docker exec -it app-dl bashコンテナ内で以下を実行してLaravel9の新規プロジェクトを作成
composer create-project --prefer-dist laravel/laravel [プロジェクト名] "9.*"ディレクトリ移動
cd my-app/依存関係のインストールおよびビルド
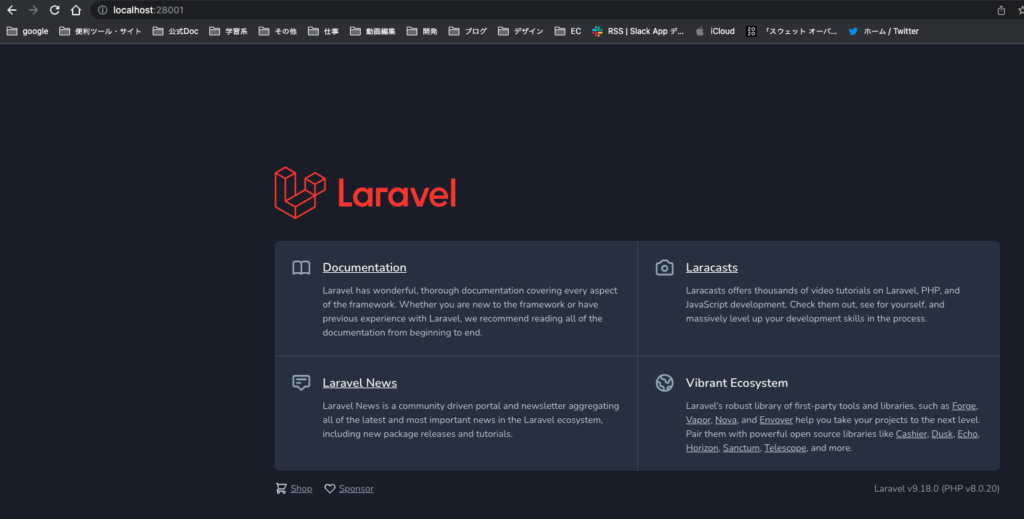
npm install && npm run devhttp://localhost:(指定したポート)/にアクセスしてwelcome画面が表示されていることを確認
ここまででLaravel9のプロジェクトが作成できました。
Vue3の準備
必要なモジュールをインストール
npm install vue --save-dev // vue本体
npm install vue-loader --save-dev //webpackでvueをコンパイルするために必要なローダー
vueファイルをコンパイルするために、my-app/webpack.mix.jsを編集(.vue()を付け足します)
const mix = require("laravel-mix");


/*
|--------------------------------------------------------------------------
| Mix Asset Management
|--------------------------------------------------------------------------
|
| Mix provides a clean, fluent API for defining some Webpack build steps
| for your Laravel applications. By default, we are compiling the CSS
| file for the application as well as bundling up all the JS files.
|
*/


mix.js("resources/js/app.js", "public/js")
.vue()
.postCss("resources/css/app.css", "public/css", [
  //
]);
my-app/resources/js/components/HelloWorld.vueを作成
<template>
  <h1>Hello World !!</h1>
</template>
my-app/resources/js/app.jsを編集
import "./bootstrap";
import { createApp } from "vue";
import HelloWorld from "./components/HelloWorld.vue";

createApp(HelloWorld).mount("#app");
最後に、laravelのスタートページであるwelcome.blade.phpを
Vueコンポーネントを呼び出すように書き換え
<!DOCTYPE html>
<html lang="{{ str_replace('_', '-', app()->getLocale()) }}">

<head>
  <meta charset="utf-8">
  <meta name="viewport" content="width=device-width, initial-scale=1">

  <title>Laravel</title>

  <!-- Fonts -->
  <link href="https://fonts.googleapis.com/css2?family=Nunito:wght@400;600;700&display=swap" rel="stylesheet">

  <!-- Scripts -->
  <script src="{{ asset('js/app.js') }}" defer></script>

  <!-- Styles -->
  <link href="{{ asset('css/app.css') }}" rel="stylesheet">
</head>

<body class="antialiased">
  <div id="app"></div>
</body>
</html>
ここまでで、Vue3のインストール完了です
Tailwindcssの準備
Tailwindと必要なモジュールをインストール
npm install tailwindcss autoprefixer --save-dev以下を実行するとmy-app/tailwind.config.jsが作成されるので、tailwind.config.jsを以下のように編集する
npx tailwindcss init/** @type {import('tailwindcss').Config} */
module.exports = {
content: [
"./resources/**/*.blade.php",
"./resources/**/*.js",
"./resources/**/*.vue",
],
theme: {
extend: {},
},
plugins: [],
};my-app/resources/css/app.cssを編集
@tailwind base;
@tailwind components;
@tailwind utilities;
my-app/webpack.mix.jsを編集
const mix = require("laravel-mix");
/*
|--------------------------------------------------------------------------
| Mix Asset Management
|--------------------------------------------------------------------------
|
| Mix provides a clean, fluent API for defining some Webpack build steps
| for your Laravel applications. By default, we are compiling the CSS
| file for the application as well as bundling up all the JS files.
|
*/
mix.js("resources/js/app.js", "public/js")
.vue()
.postCss("resources/css/app.css", "public/css", [require("tailwindcss")]);
App.vueにtailwindのスタイルを適用
<template>
  <h1 class="bg-gray-700">Hello World !!</h1>
</template>
ここまでで、Tailwindのインストールが完了しました
TypeScriptの準備
my-app/resources/js/app.jsの拡張子を.tsに変更する(jsディレクトリもtsに)
my-app/webpack.mix.jsを編集
const mix = require("laravel-mix");


/*
|--------------------------------------------------------------------------
| Mix Asset Management
|--------------------------------------------------------------------------
|
| Mix provides a clean, fluent API for defining some Webpack build steps
| for your Laravel applications. By default, we are compiling the CSS
| file for the application as well as bundling up all the JS files.
|
*/


mix.ts("resources/js/app.ts", "public/js")
.vue()
.postCss("resources/css/app.css", "public/css", [require("tailwindcss")]);
必要なモジュールのインストール
npm install typescript -D // ts本体
npm install ts-loader -D // webpackでtypescriptをコンパイルするために必要なローダー
プロジェクトのルートにtsconfig.jsonを作成
{
  "compilerOptions": {
    "target": "es5",
    "strict": true,
    "module": "es2015",
    "moduleResolution": "node"
  }
}
my-app/resources/shims-vue.d.tsを作成し、vueモジュールの型を定義
declare module "*.vue" {
  import type { DefineComponent } from "vue";
  const component: DefineComponent<{}, {}, any>;
  export default component;
}
ESLintで構文チェック
必要なモジュールをインストール
$ npm i @typescript-eslint/parser eslint eslint-plugin-vue vue-eslint-parser eslint-webpack-pluginESLint用の設定ファイルを作成し、
.eslintrc.json
{
    "env": {
        "browser": true,
        "es2022": true
    },
    "extends": [
        // 基本推奨設定で、prettierのextendsは一番最後に記載する
        "eslint:recommended",
        "plugin:@typescript-eslint/recommended",
        "plugin:vue/vue3-recommended",
        "prettier"
    ],
    "parserOptions": {
        "ecmaVersion": 13,
        "parser": "@typescript-eslint/parser", // ESLintでTypescriptを解析
        "sourceType": "module"
    },
    "plugins": [
        "vue",
        "@typescript-eslint"
    ],
    "rules": {
        "vue/multi-word-component-names": "off"
    }
}
webpackでビルド中にts,vue拡張子のファイルに対し、ESLint走らせるように設定ファイルに追記
webpack.mix.js
const ESLintPlugin = require('eslint-webpack-plugin')

//省略

mix.webpackConfig({
    plugins: [
        new ESLintPlugin({
            extensions: ['ts', 'vue'],
            exclude: 'node_modules',
        }),
    ],
})
最後にtailwind.config.jsを修正して、npm run devして、vueコンポーネントの読み込みまれており、tailwindのスタイルが適用されていれば成功です
/** @type {import('tailwindcss').Config} */
module.exports = {
content: [
  "./resources/**/*.blade.php",
  "./resources/**/*.ts",
  "./resources/**/*.vue",
],
theme: {
  extend: {},
},
  plugins: [],
};
まとめ
いかがでしたでしょうか。本記事では、PC(OS)に依存するメモ帳・テキスト管理から脱却する(VSCodeとGoogleDriveを使う)方法について紹介しています。メモ管理が一気用意になりますので、ぜひ試してみてください。