
前置き
【Java】Eclipse/EGit/Git/Githubでソースコードを管理する手順を解説します。
※GitHubのアカウントの作成方法や操作方法等については本記事では割愛します。
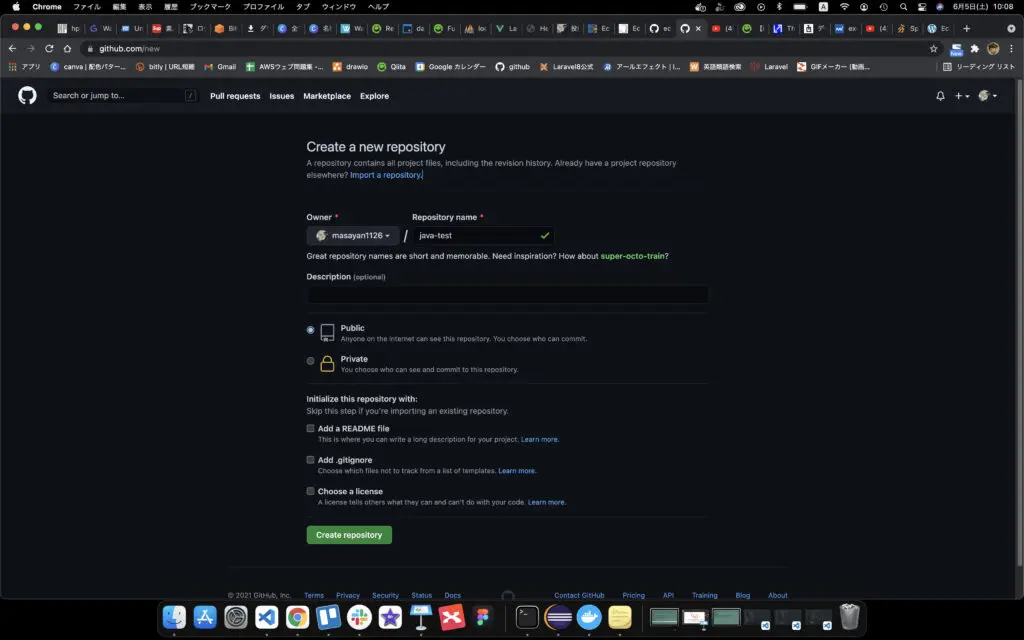
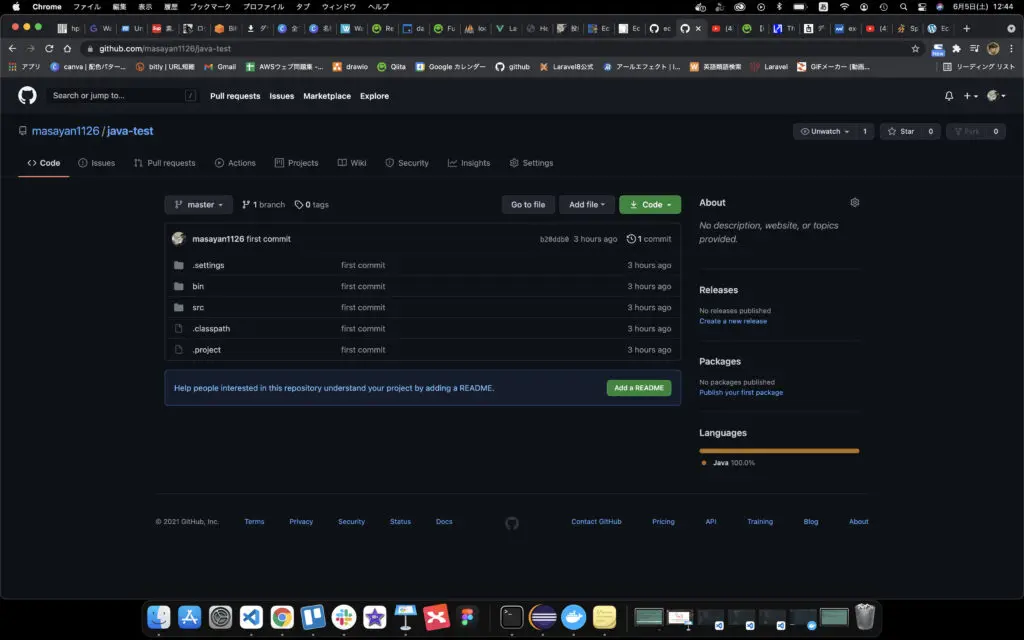
Github上の作業
githubのリポジトリを作成
Eclipse上の作業
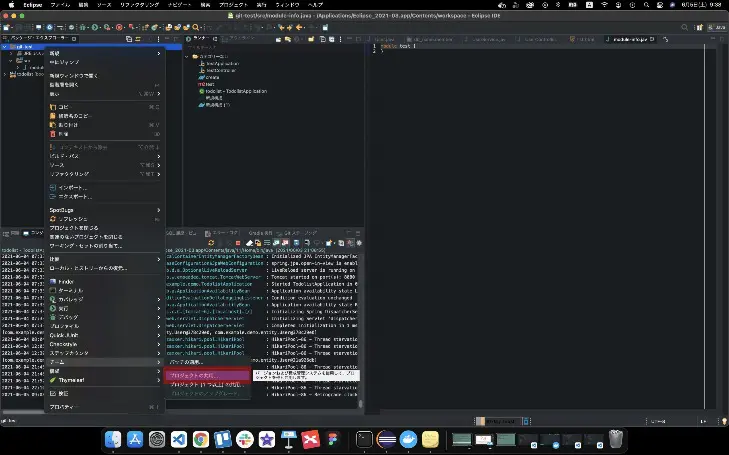
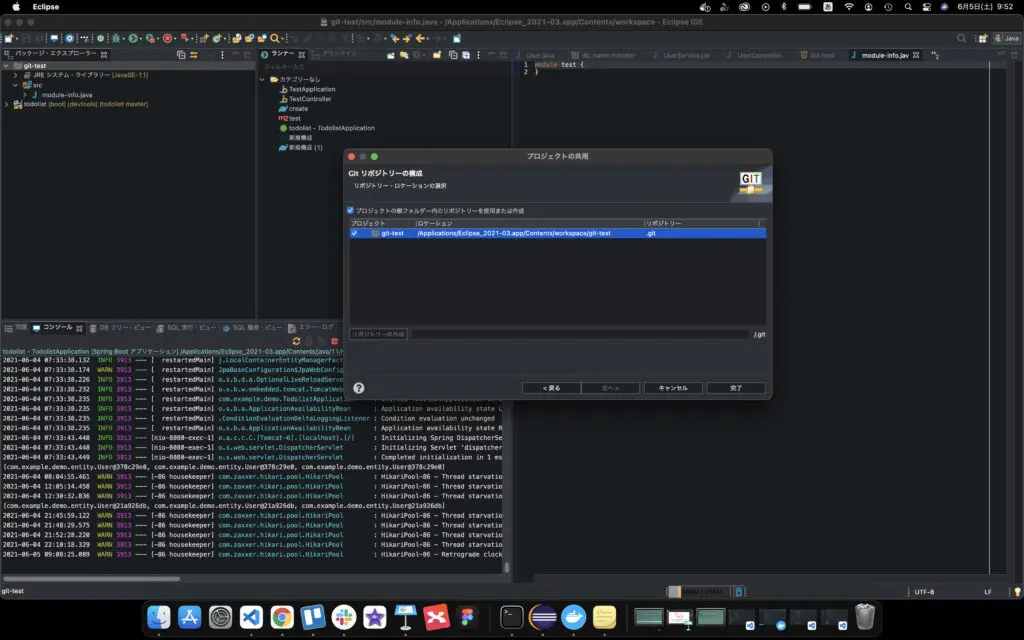
1.ローカルリポジトリの作成
プロジェクトを右クリックして、チーム>プロジェクトの共用を選択
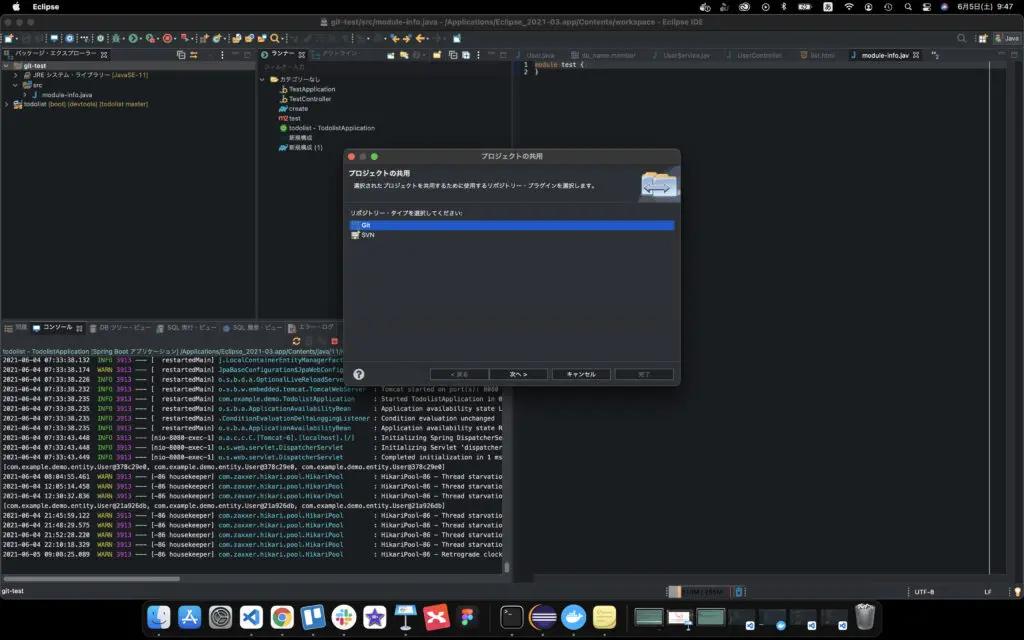
リポジトリタイプでGitを選択
プロジェクトの親フォルダー内のリポジトリーを使用または作成にチェックをつけ、プロジェクトを選択した状態でリポジトリーの作成ボタンをクリック
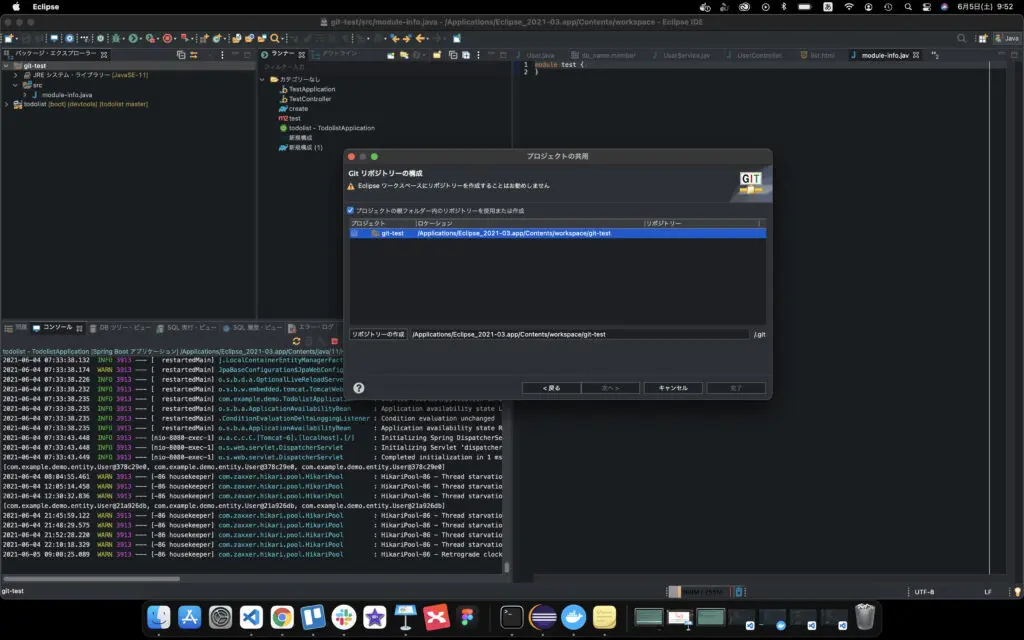
完了をクリック
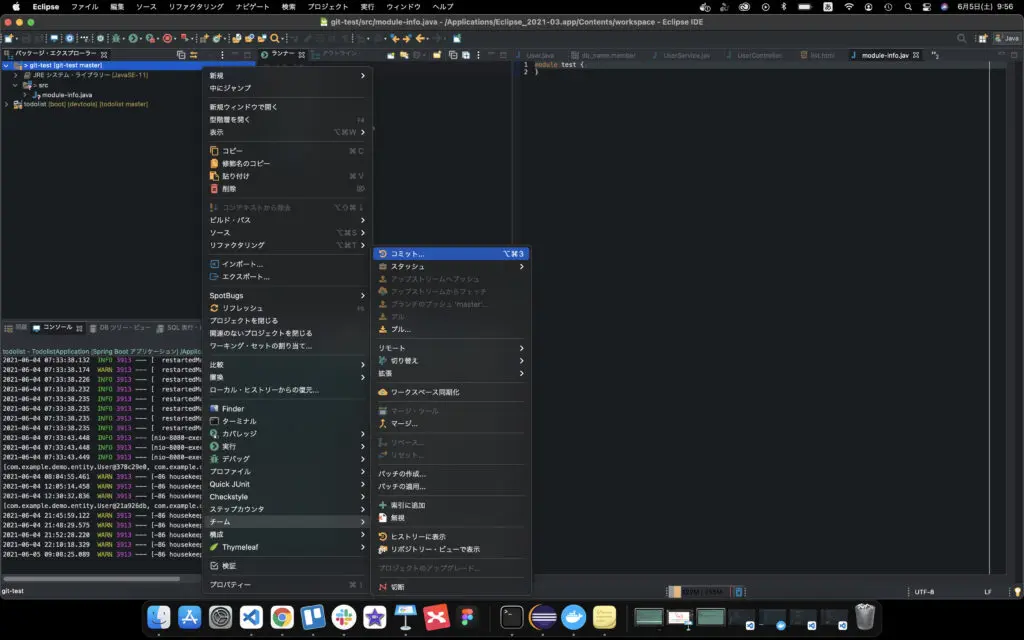
2.ステージング
プロジェクトで右クリックし、メニューの[チーム]-[コミット...]を選択
Gitステージングビューが表示されるので、ステージングするファイルを選択し + のアイコンをクリック
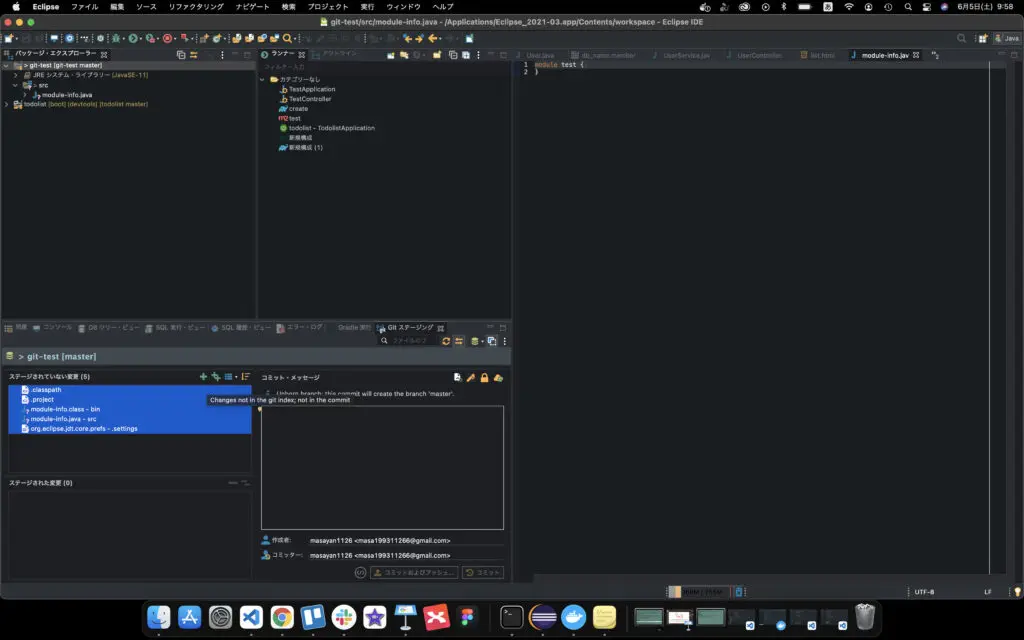
ステージングされたファイルが下に移動します
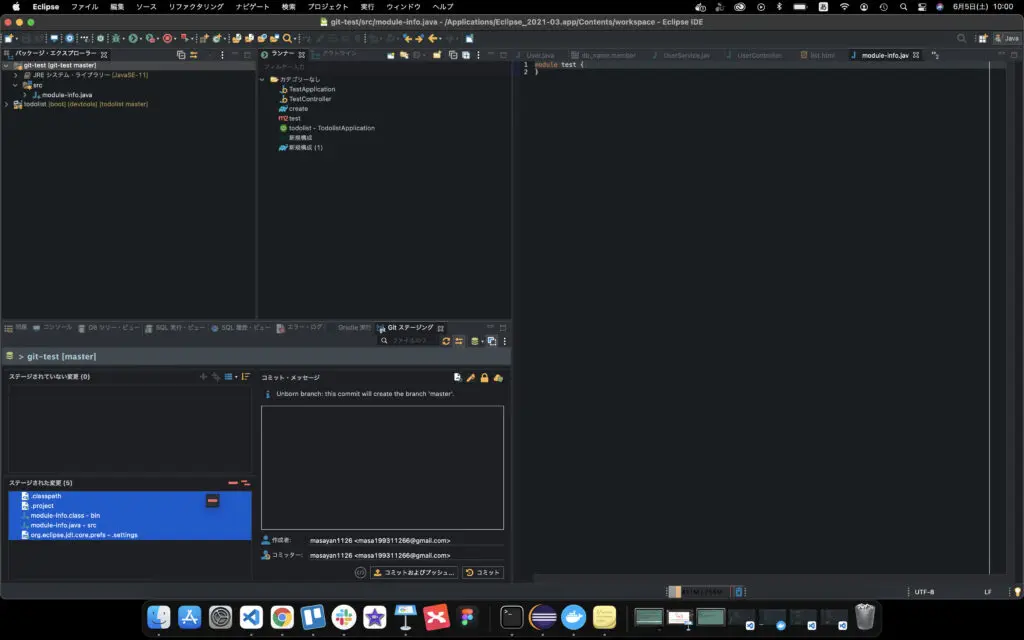
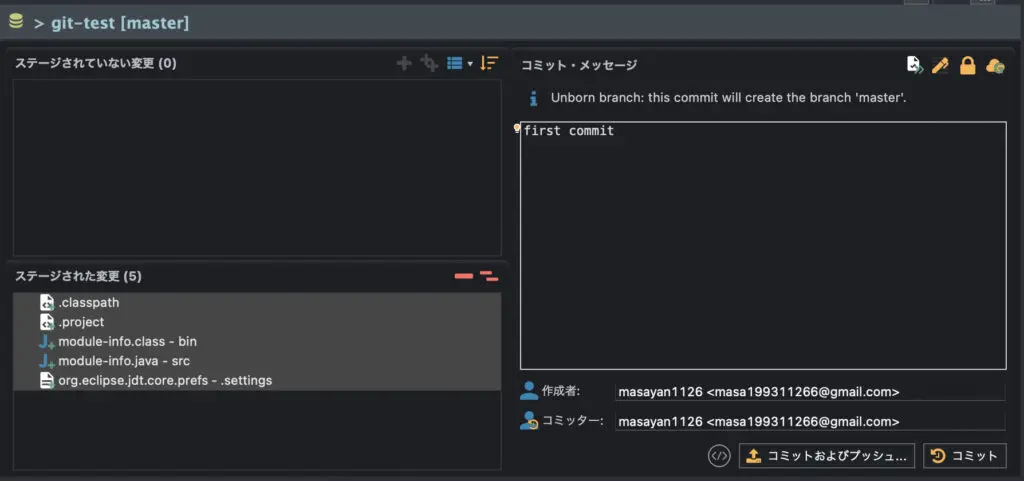
3.コミット
コミットメッセージを入力し、コミットボタンをクリックする。
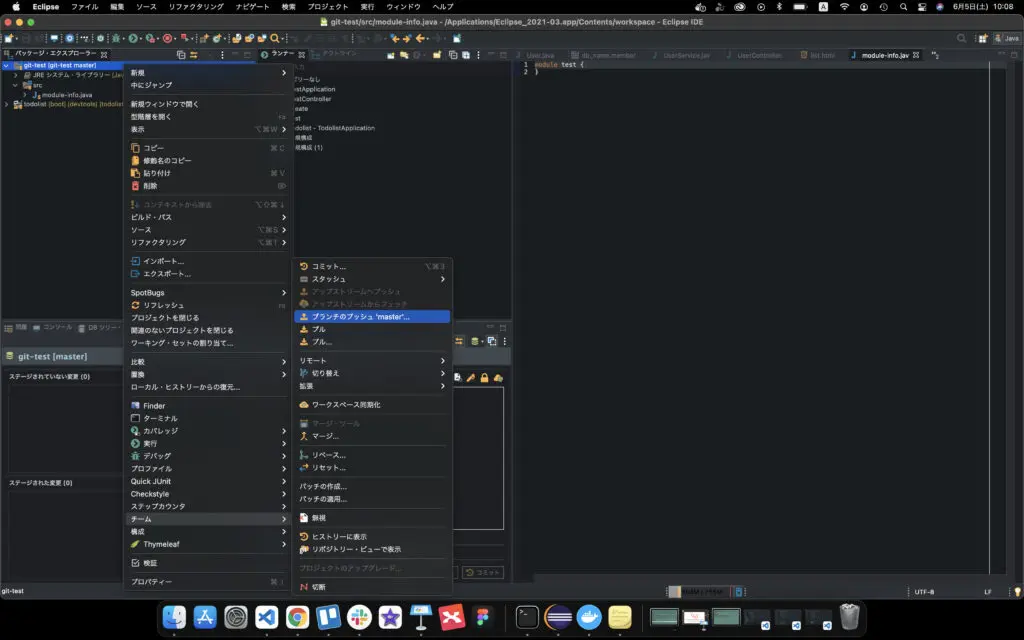
4.プッシュ
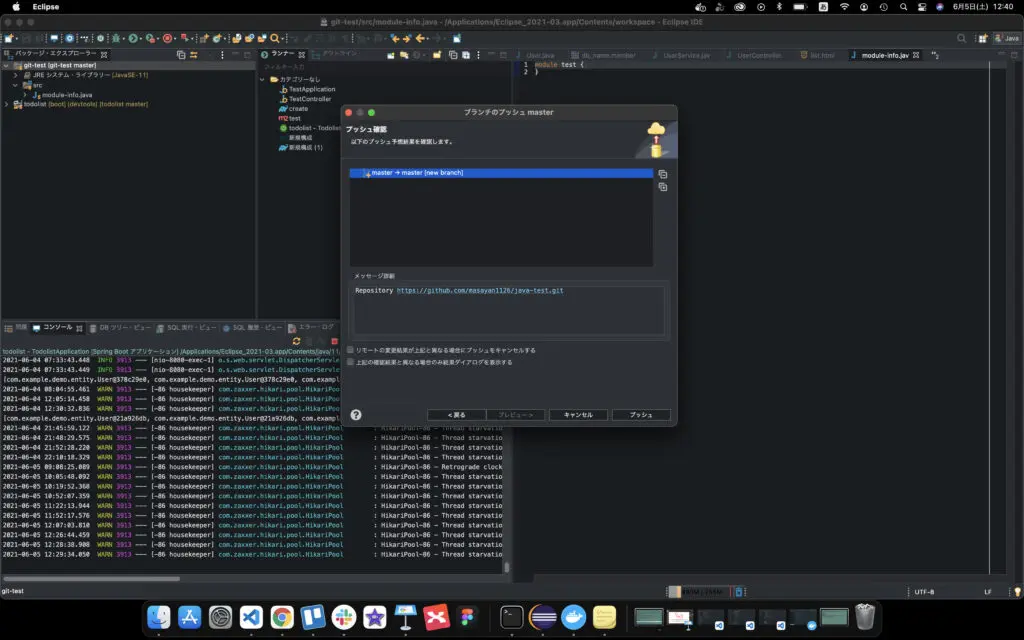
プロジェクト右クリックでチーム>ブランチのプッシュ"master"を選択する。
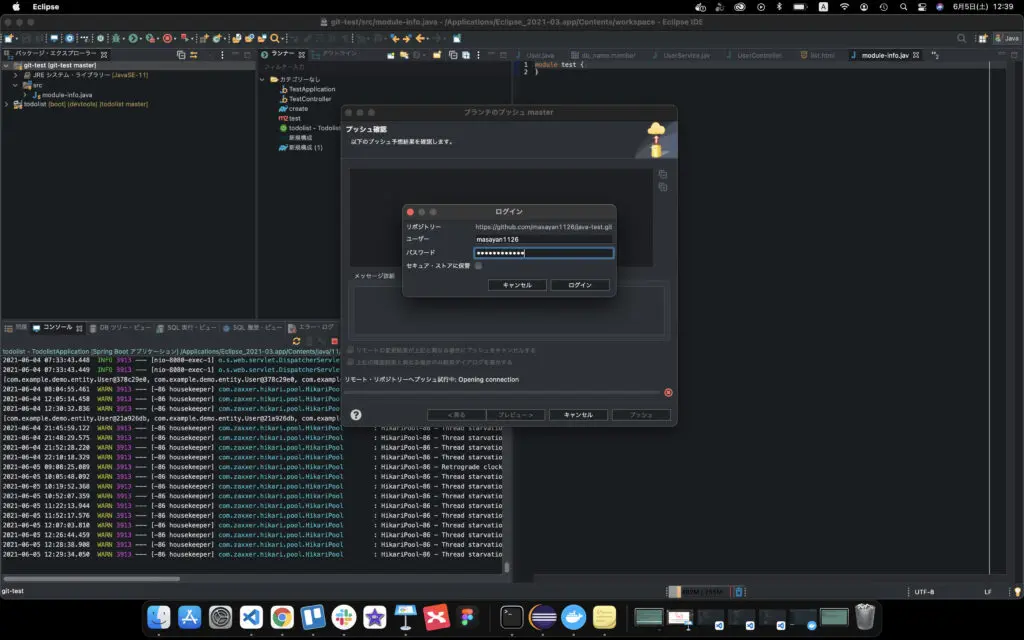
リモートリポジトリのURLを入力し、プレビューをクリック
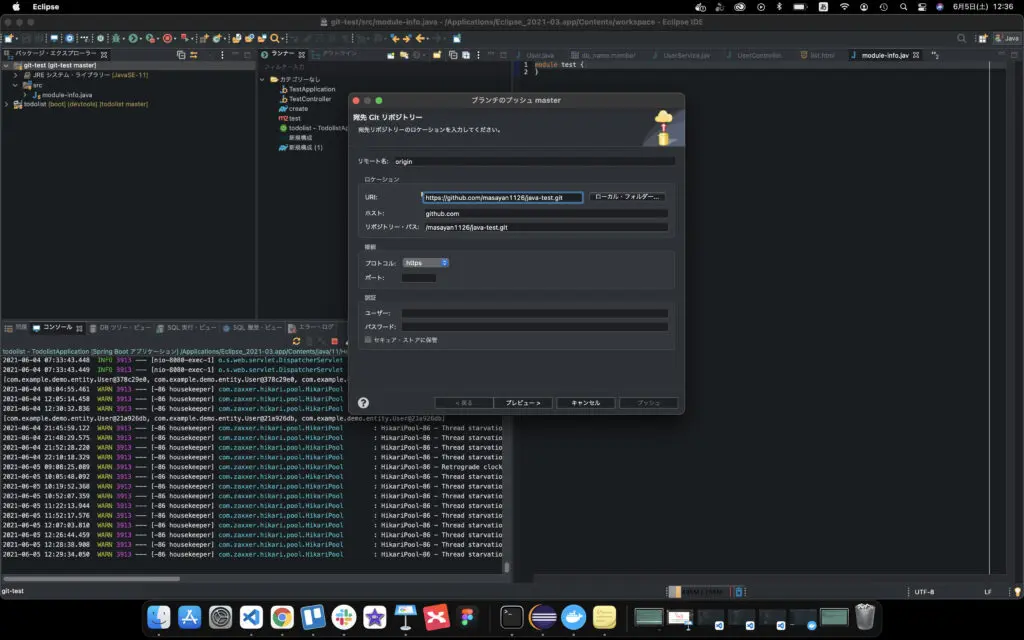
プレビューをクリック
Githubのユーザー名とパスワードを入力しログインをクリック
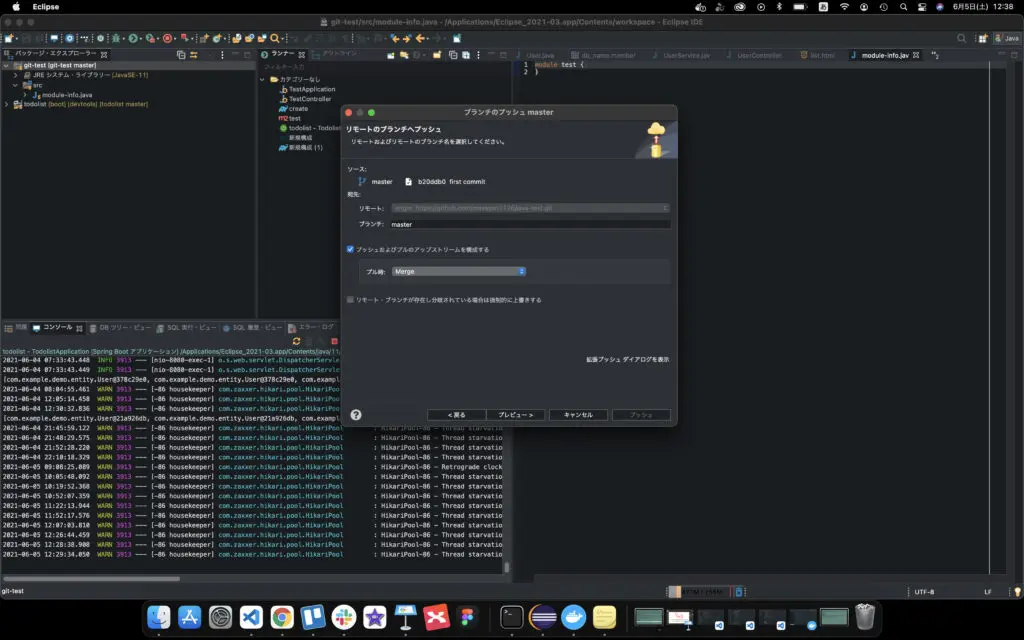
プッシュをクリック
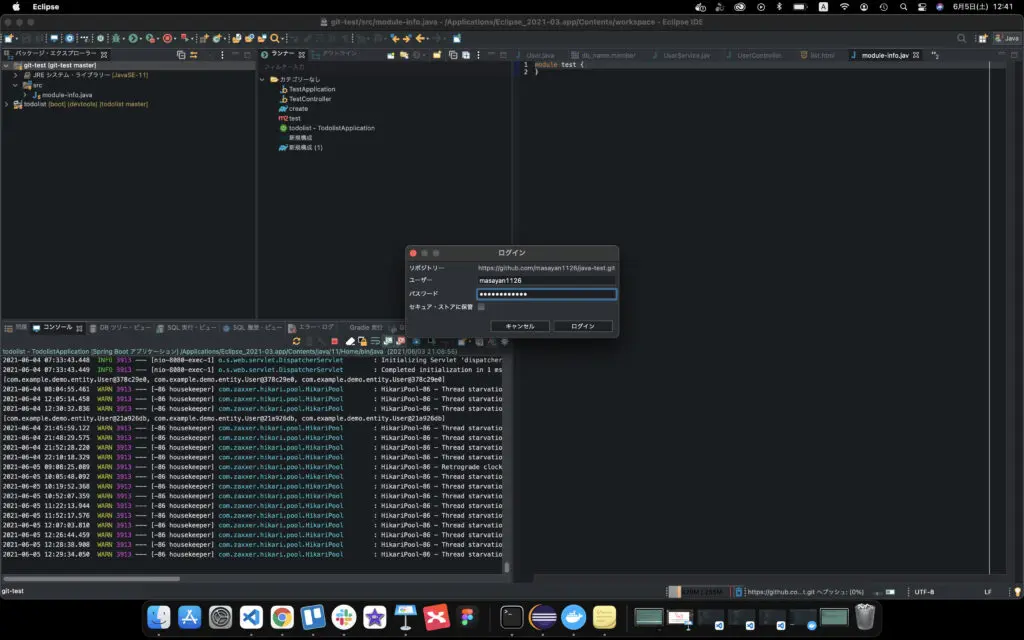
再度Githubのユーザー名とパスワードを入力しログインをクリック
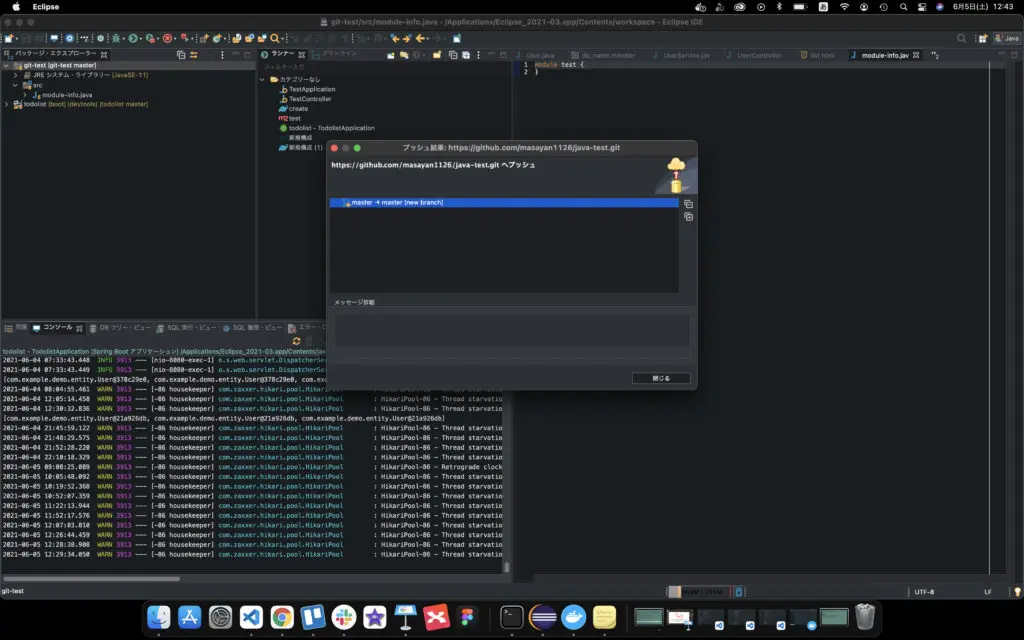
プッシュ完了
まとめ
いかがでしたでしょうか。本記事では、【Java】Eclipse/EGit/Git/Githubでソースコードを管理する手順について解説しています。Javaの開発にはEclipse IDEが使われることが多く、ソースコードの管理に関してもGit・Githubのケースが多いので、本記事を参考に双方を連携してみてください。


