
手順
gitの公式サイトを開く
https://git-scm.com/download/mac
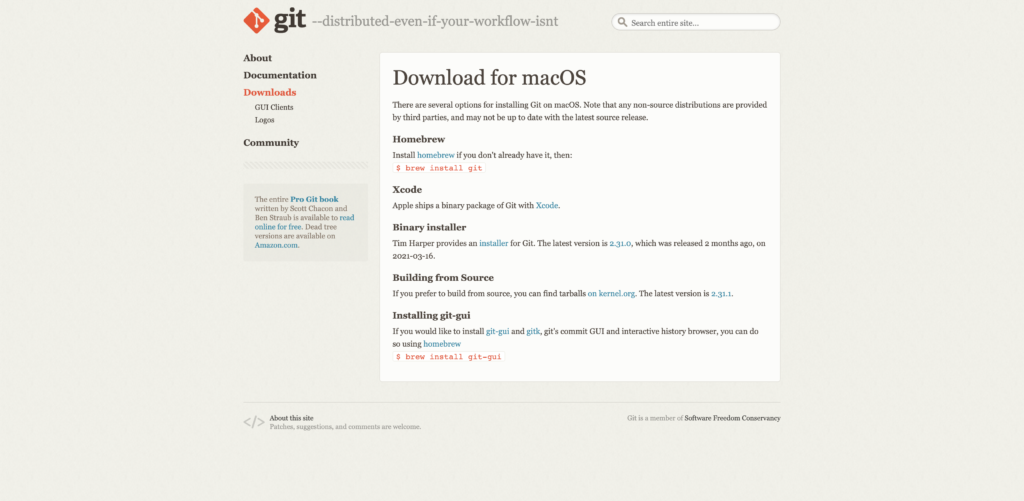
Homebrewのリンクからインストールする
Install homebrew if you don't already have it, then:
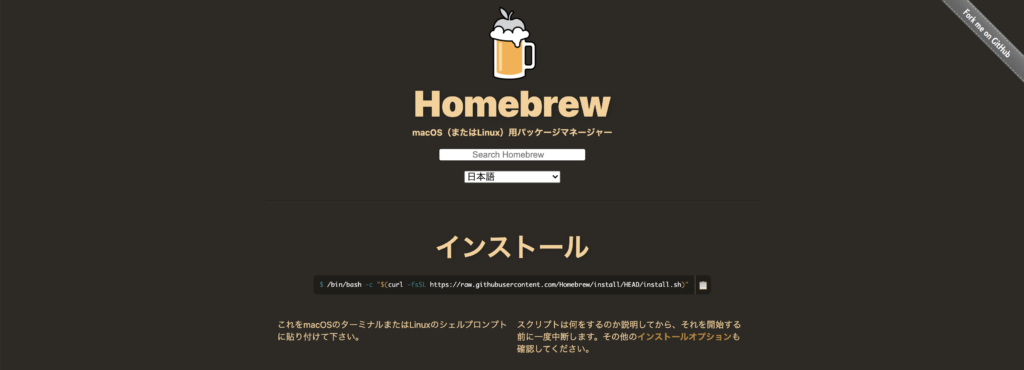
ターミナルからHomebrewをインストールするコマンドを実行
% /bin/bash -c "$(curl -fsSL https://raw.githubusercontent.com/Homebrew/install/HEAD/install.sh)"macのパスワードを入力してしばらく待つ
※Command Line Tools for Xcodeがない場合、インストールが実行される
インストールが完了したら下記コマンドを実行し、バージョンが表示されれば完了です。
% brew -vGitをインストールする
Homebrewでgitをインストールする
% brew install gitインストールが完了したら下記コマンドを実行し、バージョンが表示されれば完了です。
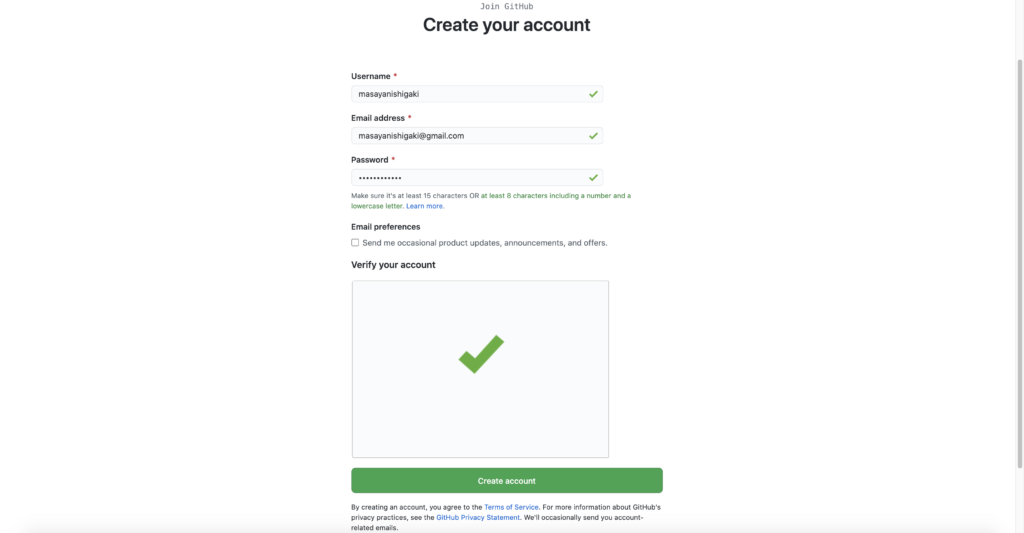
% git --versionGitHubのアカウント登録
公式のサインアップ画面から必要事項を入力し、Create accountをクリック
まとめ
いかがでしたでしょうか。本記事では、MacにGitをインストールしてGitHubアカウントを登録する手順について説明しています。チーム開発を行う上でgitとgithubは必須の内容になりますのでぜひ参考にしてみてください


