
環境
- Mac Monterey 12.0.1
- VsCode
設定手順
xcodeのインストール
※入っていれば飛ばしてOKです
App Storeでxcodeと検索してインストールする
コマンドラインツールのインストール
※入っていれば飛ばしてOKです
xcode-select --installhomebrewのインストール
上記のサイトに移動し、サイト上にある以下のコマンドをターミナルで実行する
/bin/bash -c "$(curl -fsSL https://raw.githubusercontent.com/Homebrew/install/HEAD/install.sh)"python3のインストール
homebrewでpython3をインストール
brew install python3インストールしたpythonのバージョンを確認
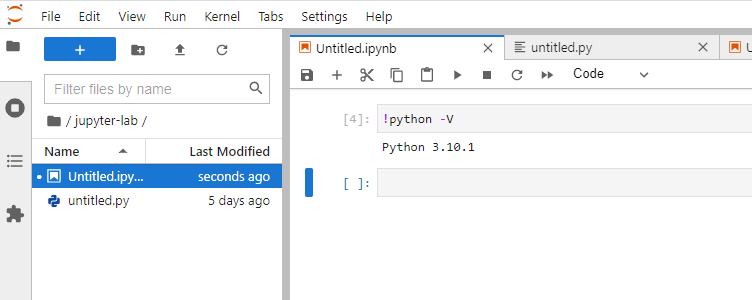
python3 -V
Python 3.9.6jupyter notebookのインストール
pip3 install jupyterjupyterlabのインストール
pip3 install jupyterlabjupyterlabの起動
以下のコマンドを実行すると、ブラウザが自動で起動(http://localhost:8888/lab)する。
jupyter labNotebookからPython3を選択すると、.ipynbという拡張子のfileが作成される
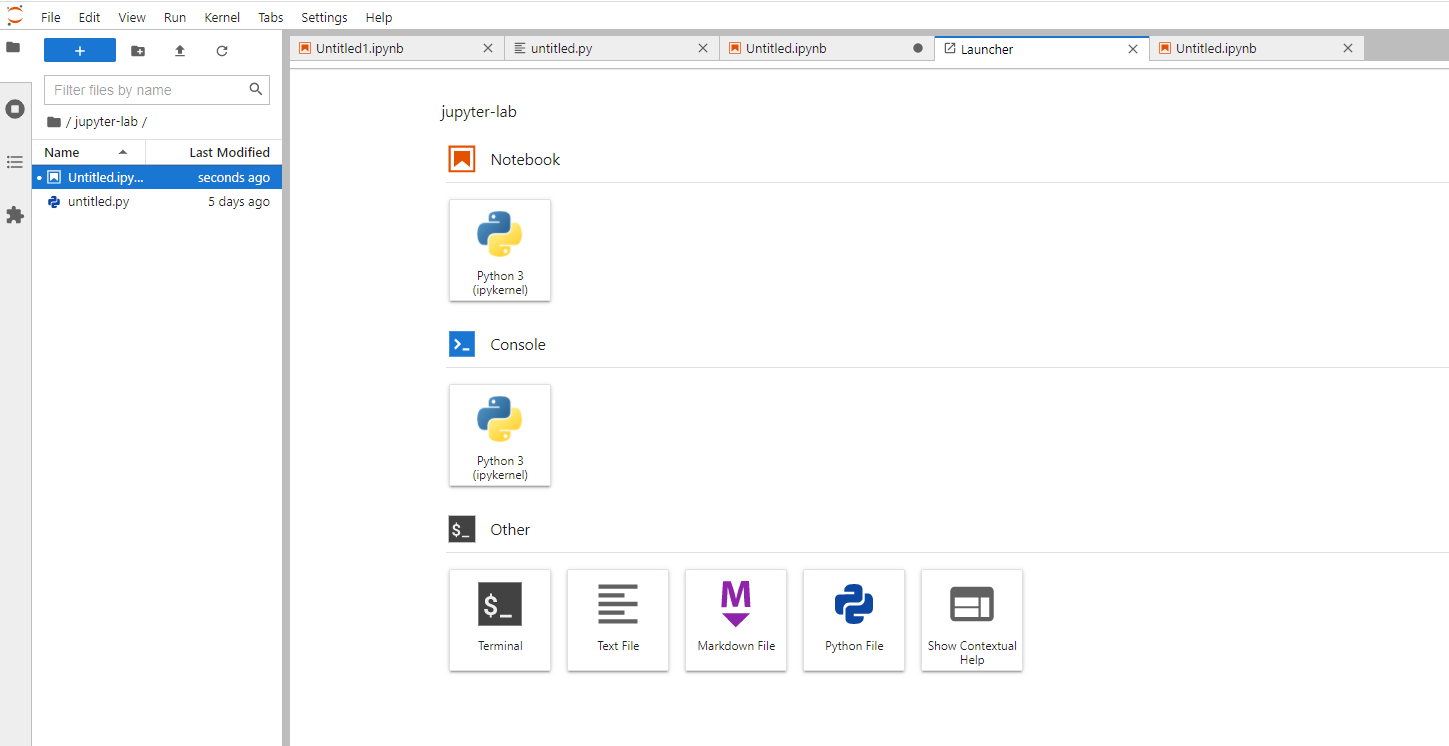
もしくは拡張子pyのpythonスクリプトファイルを作成して、コードを書くことも可能
以上です。これだけの手順でPythonが書ける環境が構築できるので、とてもおすすめです。
まとめ
いかがでしたでしょうか。本記事では、Macにおいて、python3の実行環境をjupyterlabでサクッと構築するための手順について説明しています。jupyterlabを使用することにより、簡単な手順でPythonが書ける環境が構築できるので、とてもおすすめです。


